Index Cards
To open the script index cards tab, go to the scripts list, hover over an item in the list, click on the More icon (three dots) and select the Index Cards option.
 Index Cards
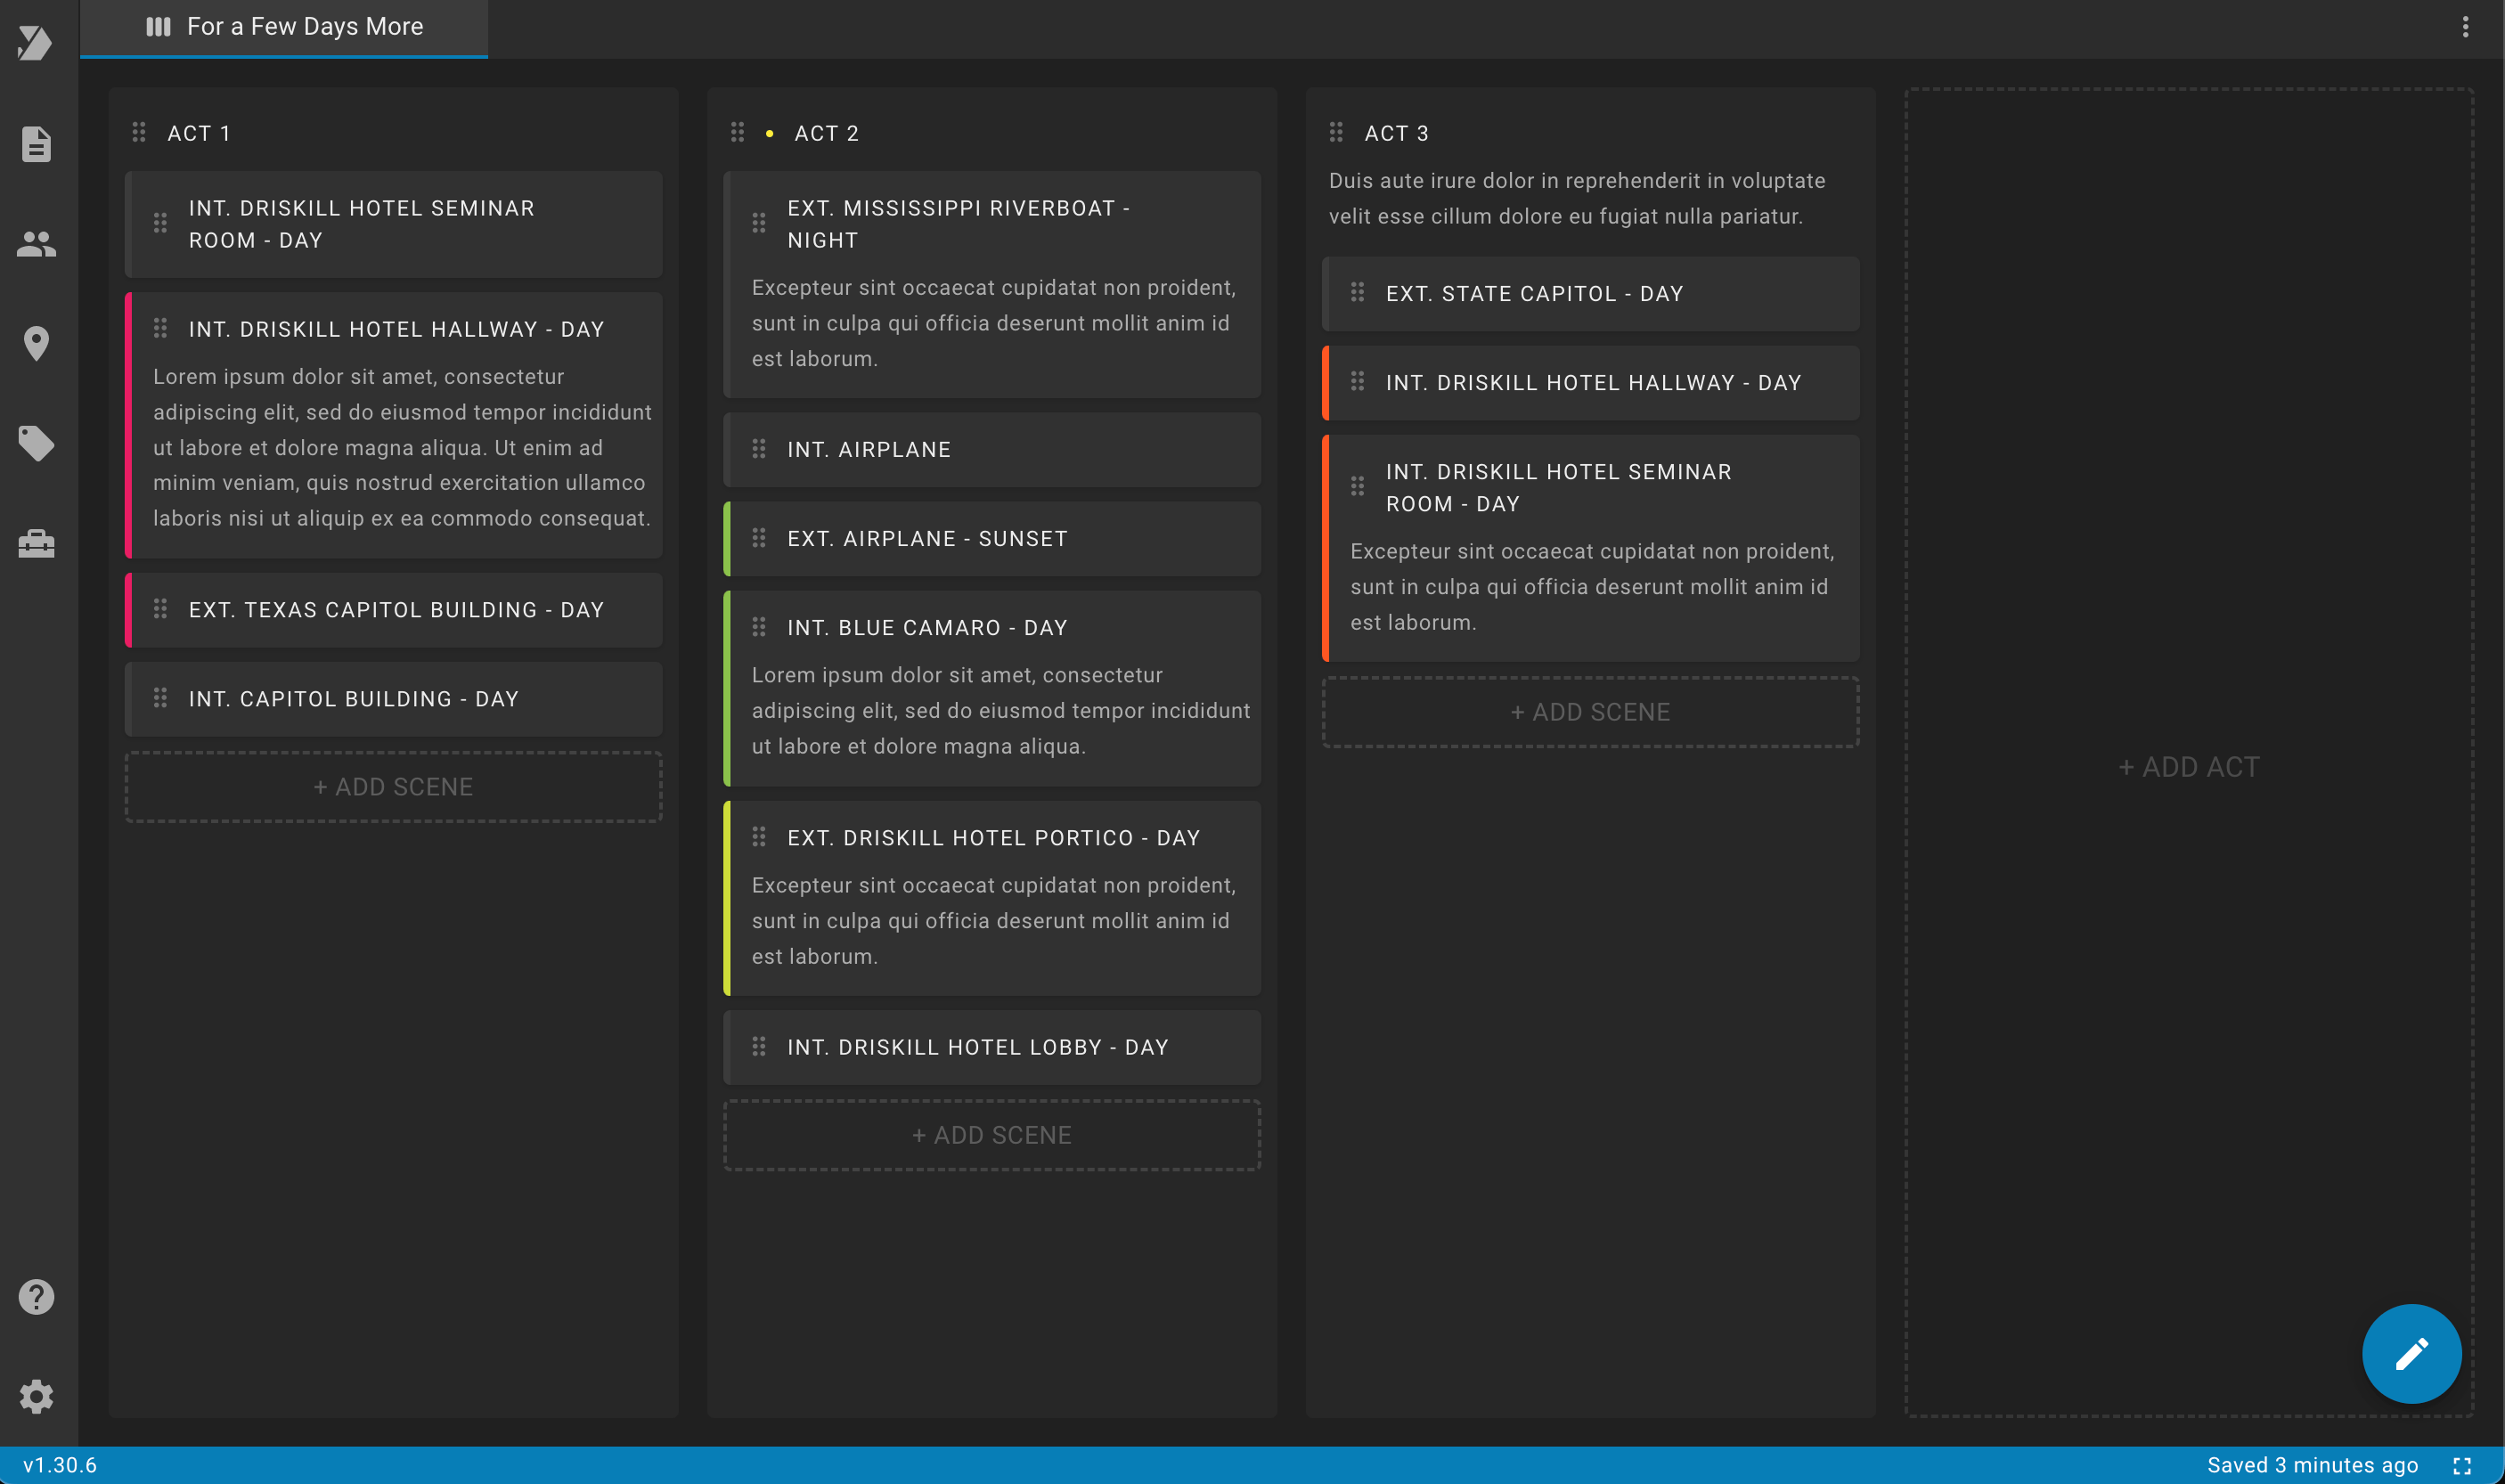
Each column represents an act. Each element in the column represents a scene. The act and scene are considered a card within this tab.
You can create any number of acts or scenes by clicking on the "+ Add Act" or "+ Add Scene" buttons.
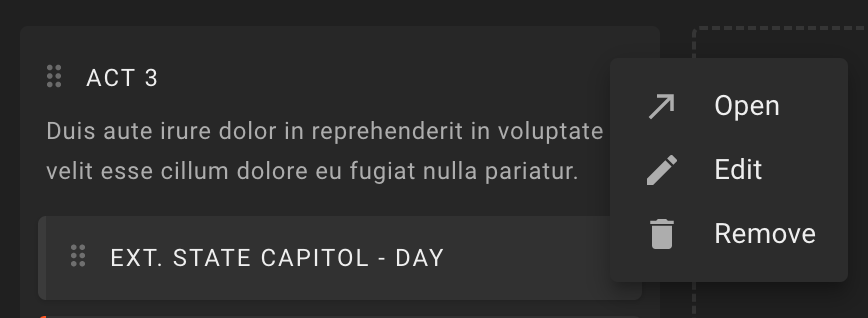
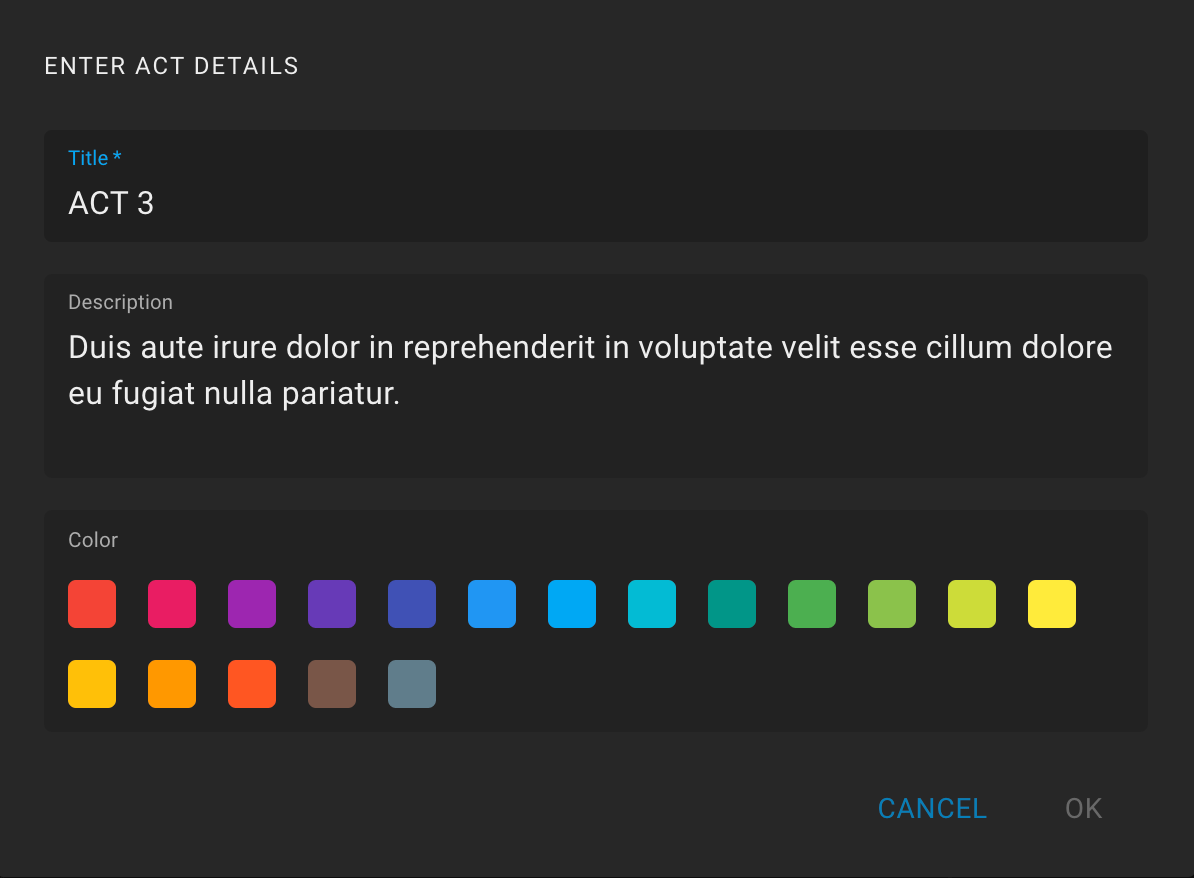
The created act is named automatically, you can rename it at any time in the card actions.
You can also change the order of acts or scenes using the drag and drop icon (six dots).
The Undo and Redo commands work in the context of this tab:
Undo - cancels the last action with the acts or scenes. You can also use the keyboard shortcut: "Ctrl + Z" for Windows and Linux, or "⌘ + Z" for macOS.
Redo - repeats the previously canceled action with the the acts or scenes. You can also use the keyboard shortcut: "Ctrl + Shift + Z" for Windows and Linux, or "⌘ + Shift + Z" for macOS.
You can find the index cards actions button in the botom right corner.
 Index Cards Actions