Documentation

Tools Shot Sizes

To open the "Shot Sizes" feature, click on the Tools icon on the sidebar and expand the "Shot Sizes" section.
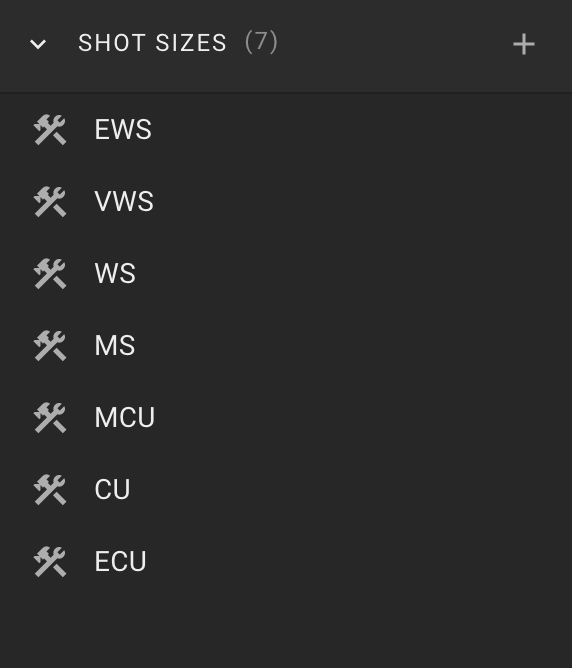
The section header contains the number of sizes in parentheses and the Create icon.
There is a list of sizes in the body of the section.

Shot Sizes Panel Shot Sizes Panel

When you hover the mouse over a list item for a while, the tooltip displays the size description.

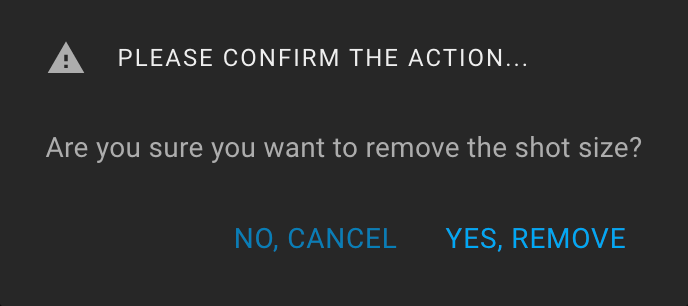
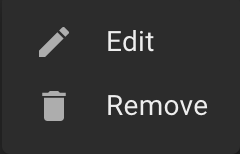
Also, when hovering over a list item, the More icon (three dots) is displayed. The following actions are available: "Edit" and "Remove".

Shot Size Actions Shot Size Actions

By default, the following sizes are available:
- EWS - Extreme Wide Shot;
- VWS - Very Wide Shot;
- WS - Wide Shot;
- MS - Mid-Shot;
- MCU - Medium Close-Up;
- CU - Close-Up;
- ECU - Extreme Close-Up.

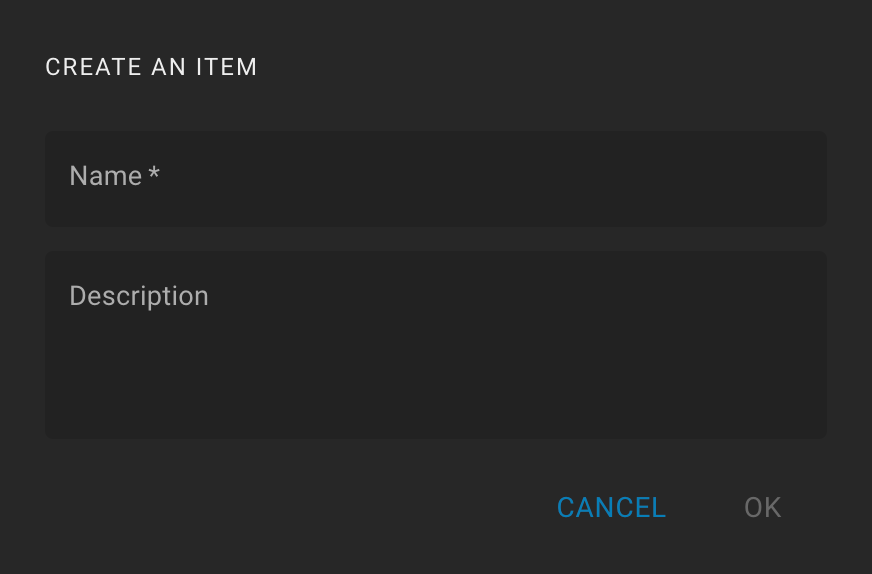
You can create new, edit, or delete existing sizes.

Creating a Shot Size

To create a size, click on the Create icon in the section header.

After that, fill in the required fields in the dialog and click "Ok". The created size will appear in the list.

Shot Size Dialog Shot Size Dialog

The "Name" field is mandatory.
In the "Description" field, you can enter any information related to the size that is useful to you.

Editing a Shot Size

To edit a size, hover over an item in the list, click on the More icon (three dots) and select the Edit option.

After that, in the dialog, udpate some fields and click "Ok". A description of the dialog fields can be found above. The updated size will appear in the list.

Removing a Shot Size

To remove a size, hover over an item in the list, click on the More icon (three dots) and select the Remove option.

Removing a size cannot be undone, so a confirmation dialog will be displayed. Click "Yes, Remove" to remove the size.

Shot Size Remove Confirmation Dialog Shot Size Remove Confirmation Dialog

We use cookies to improve your experience on our site. By using our site, you consent to the use of cookies.